UNLV Autonomous Research Vehicle
UNLV Autonomous Research Vehicle
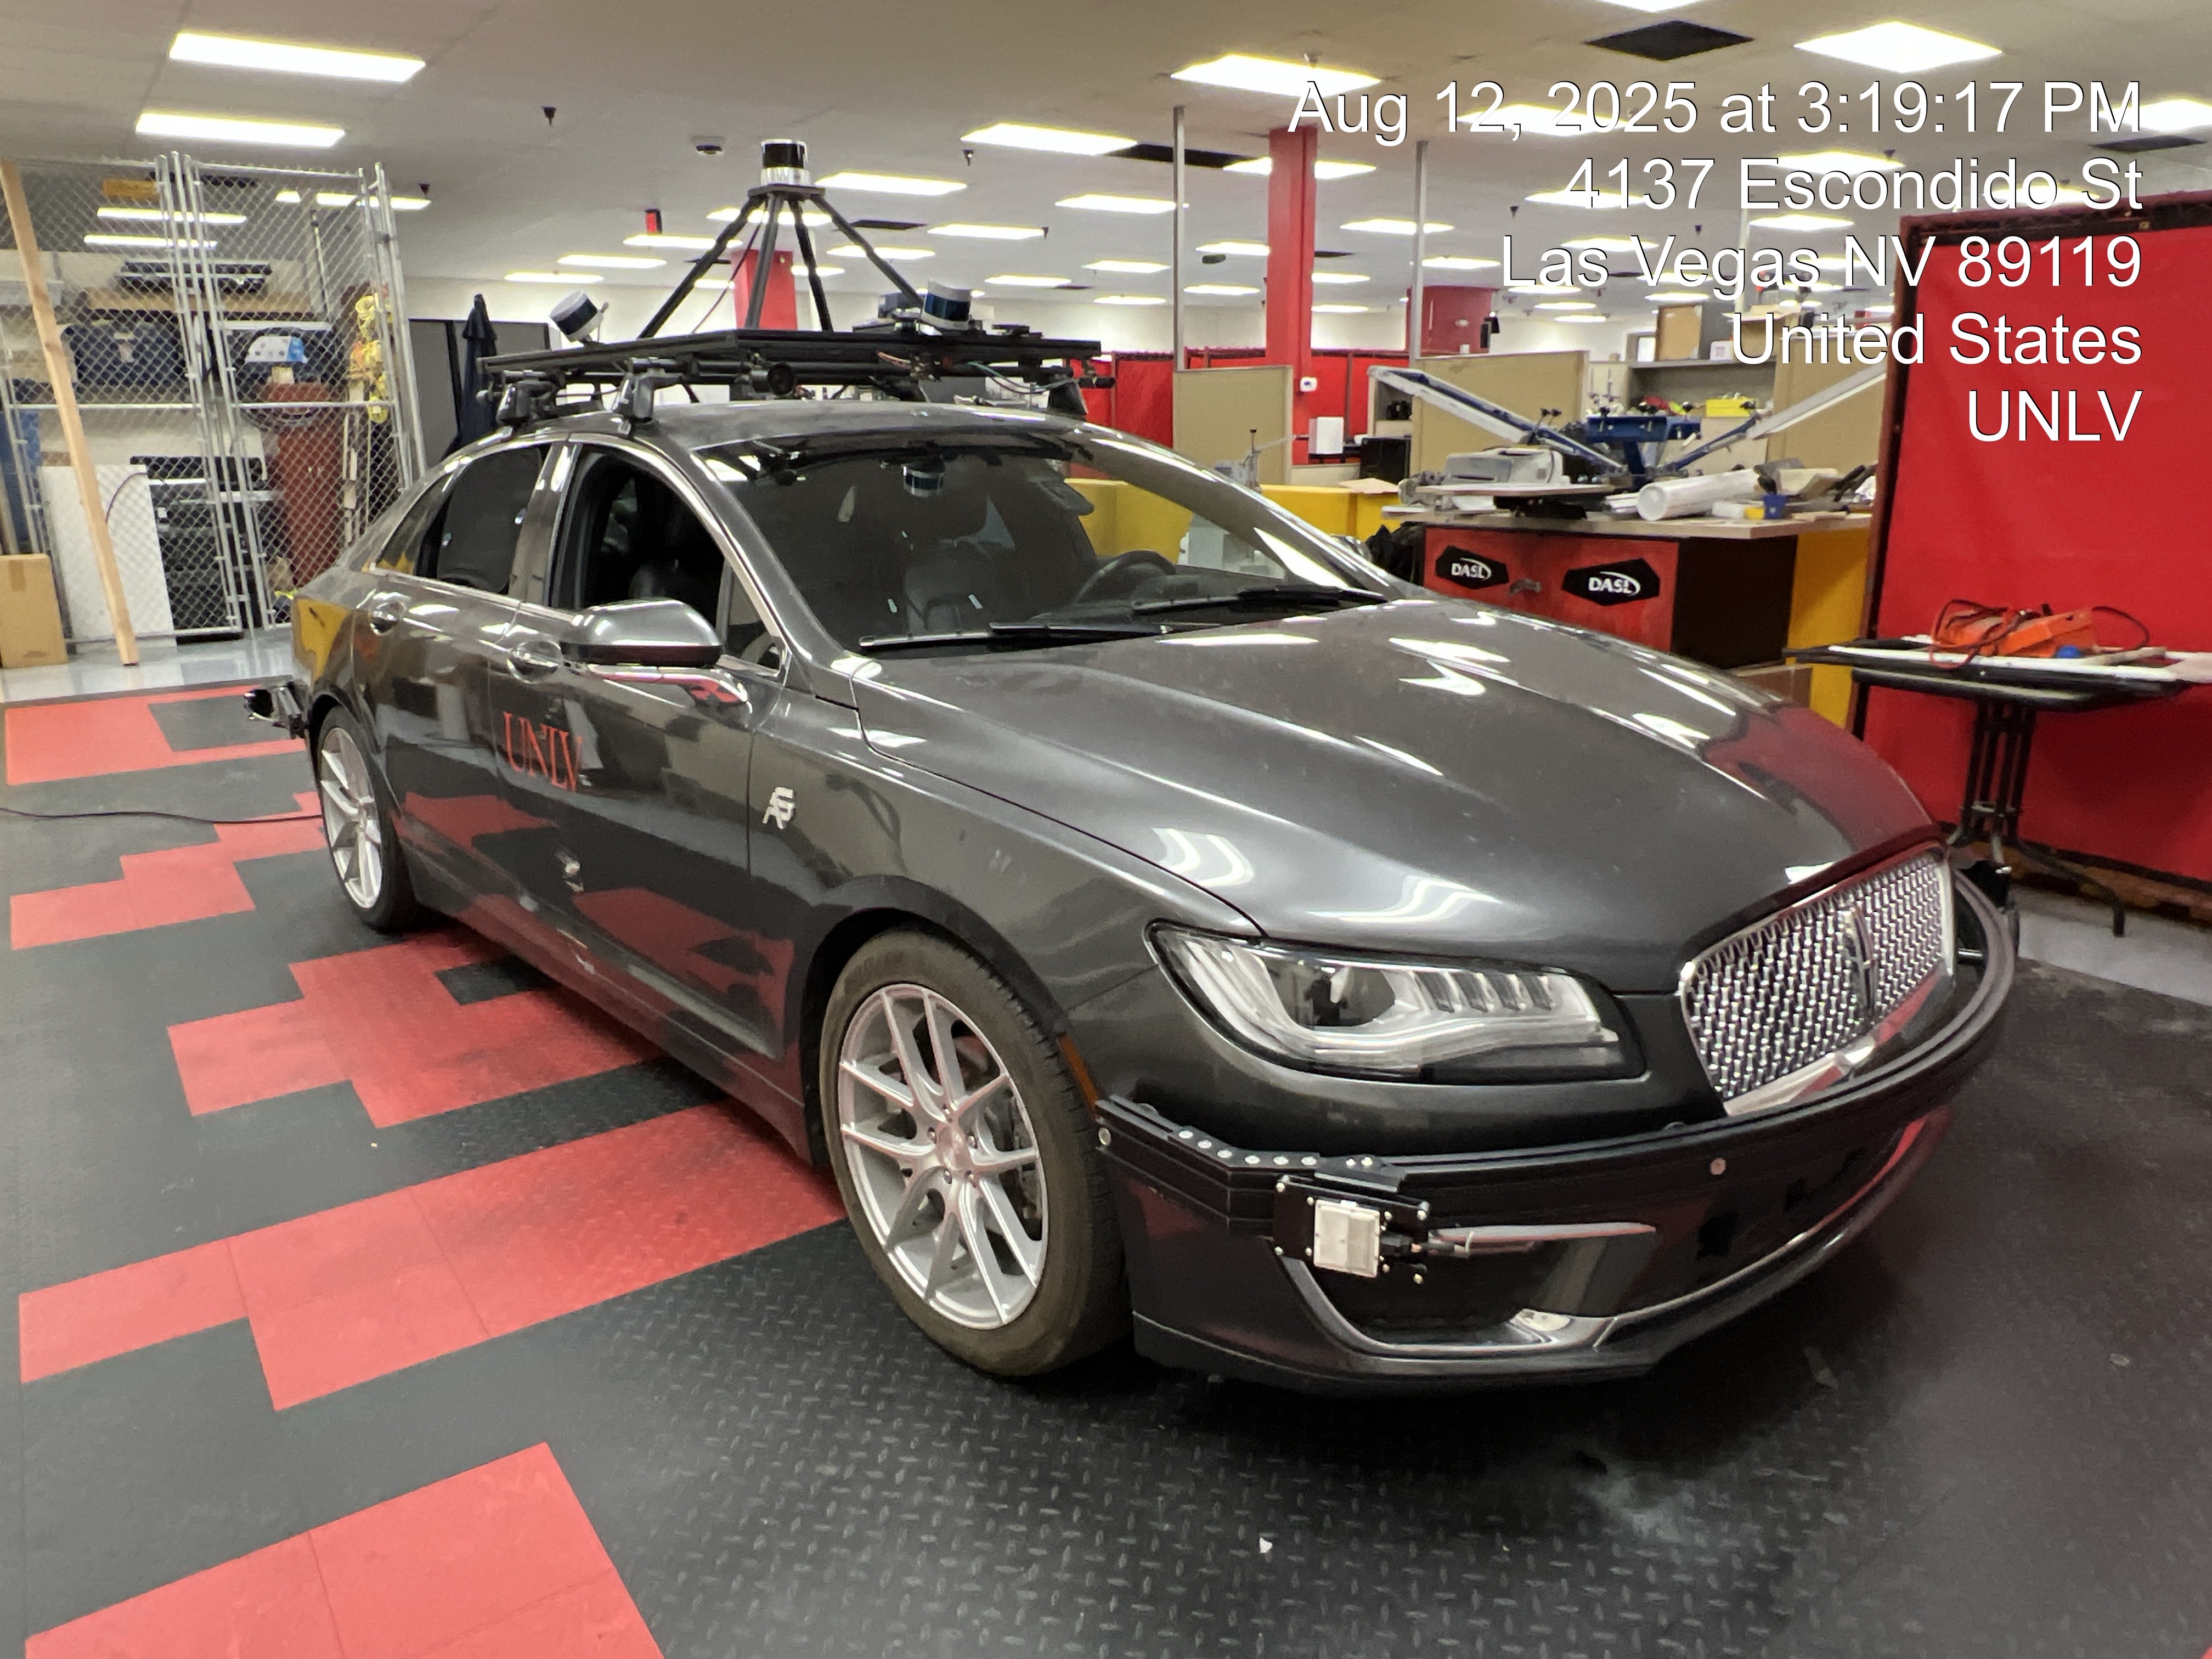
This website serves as documentation and interactive learning of setting up UNLV's Lincoln MKZ
Autonomous Research vehicle. We will cover week by week of working with the vehicle from the basic
physical operation of the vehicle, setting up the PC with ROS2, checking that our sensors are working,
setting up Autoware, and finally driving autonomously in a 3D scanned and 2D vectorized map.
AutonomouStuff Customer Delivery Documents
- This file contains documents delivered to UNLV by AutonomouStuff, the builder of the vehicle. Documents included are individual ADAS component customer data/programs,
training documents, data sheets, wiring diagrams and more.
answerKeys.zip - Password locked homework answer keys for instructor use only.
Week 1
Topics - Prerequisities, Getting Started Part I, Getting Started Part II
Prerequisites (Approximate Time Investment: 4 hours)
The foundations of our Autonomous Research Vehicle are Ubuntu, ROS2, and Autoware. Autoware is a
ROS2 stack that we will cover in the later weeks. Before working with our vehicle, it is imperative that
we have a basic understanding of Ubuntu and ROS2. The resources below should be followed to get some practice.
Ubuntu can be ran on a virtual machine via VirtualBox or it can be installed natively. The virtual machine route
is objectively the best way to access Ubuntu and ROS2 without making permanent changes to your computer.
The required version of Ubuntu is 22.04.5 Jammy Jellyfish and the required version of ROS2 is ROS2 Humble.
The 11 part video series on ROS2 Humble for Beginners (see link below) covers the installation of ROS2.
The video series also covers the basics such as setting up your workspace, starting a node, creating packages,
writing publishers & subscribers, and more. This video series will be adequate for getting started with the vehicle.
- How to run Ubuntu desktop on a virtual machine using VirtualBox |
(PDF)
- How to install Ubuntu. (Non Virtual Machine) |
(PDF)
- Linux Command Line for Beginners |
(PDF)
- ROS2 Humble for Beginners by Robotics Back-End (YouTube)
(Part 1),
(Part 2),
(Part 3),
(Part 4),
(Part 5),
(Part 6),
(Part 7),
(Part 8),
(Part 9),
(Part 10),
(Part 11)
Getting Started Part I (Approximate Time Investment: 2 hours)
Now that we are acquainted with Ubuntu and ROS2, we will learn the basic physical operation of the vehicle,
set up our workstation, and install Ubuntu on the vehicle's PC. Follow the instructions in the handout PDF below.
Note that the vehicle can be
driven just like a regular car. Park the vehicle in your workspace where you have access to a 120V 20A outlet.
The instrument cluster may show errors with the car's safety systems due to conflict with the aftermarket ADAS
components but this is normal. The messages can be dismissed by pressing the OK button on the steering wheel.
Getting Started Part II (Approximate Time Investment: 1 hour)
Now that we are phyiscally set up with our workspace and we have access to the vehicle's Ubuntu installed PC, we
will begin with the simple task of checking our LIDARs. The vehicle is equipped with four LIDARs. One
Ouster OS2, two Velodyne VLP16s, and one Velodyne VLP32.
In the world of Linux and ROS2's open source software, the availablity of documentation and easy to use software varies
greatly. We are checking these LIDARS first to get more familiar with our workflow and because Ouster and Velodyne offer
easy to use software that we can use to check that the LIDARs are working.
Follow the Getting Started Part II handout for directions on checking our LIDARs. The wiring diagram, breakout box schematic,
and power distribution diagrams are also provided below for any diagnostics needed.
Take Week 1 Quiz
Homework: homeworkWeek1.pdf
Week 2
Topics - Getting Started Part III, Hello World I, Hello World II
Getting Started Part III (Approximate Time Investment: 1 Hour)
Getting Started Part III consists of installing ROS2 and setting up QOL changes for our ROS2 workspace.
This section should feel very familiar as it is the same procedure that was covered in the ROS2 Humble for
Beginners from the Prerequisite.
- Handout: gettingStartedPart3.pdf
- Resources
- Official ROS2 Humble Installation Guide |
(PDF)
- ROS2 Humble for Beginners by Robotics Back-End (YouTube)
(Part 1),
(Part 2),
(Part 3),
(Part 4),
(Part 5),
(Part 6),
(Part 7),
(Part 8),
(Part 9),
(Part 10),
(Part 11)
Hello World I - Blinker Node (Approximate Time Investment: 1-2 hours)
With ROS2 set up, we are moving onto Hello World I with the Blinker Node. We will install ROS drivers
for the Dataspeed drive-by-wire system so we can have bidirectional communication with ROS and the Lincoln.
Hello World I will be activating the car's rear blinkers by running a ROS package.
The Dataspeed drive by wire system is installed in our vehicle. It allows us to communicate to and with the vehicle.
The module is able to convert CAN (Controller Area Network) messages from the vehicle’s ECU (Engine Control Unit) and
transmit the messages to our PC and vice-versa. It acts as a middleware hardware for controlling the vehicle.
Hello World II - Ouster, Blinker, and Dataspeed: Input and Feedback (Approximate Time Investment: 1-2 hours)
Now that we've covered Hello World I, we will move onto Hello World II where we will incorporate a feedback
loop with an input and an output. We will create an "alarm" system where an input (motion detected by the Ouster) will
trigger an output (blinkers flash when motion is detected by the Ouster).
As mentioned before, the nature of open source Linux/ROS software is very volatile with changes (jargon: commmits) happening often, so it is good practice to read through the documentation in the drivers' repositories.
Take Week 2 Quiz
Homework: homeworkWeek2.pdf
Week 3
Topics - Installing Autoware Stack and Planning Simulation
Autoware is one of the foundations of getting our car to drive autonomously. It is a ROS2 stack that acts as a middleware software between ROS2 and the vehicle’s ADAS sensors.
It is a large stack that can be containerized in Docker or installed from source. We will install it from source and run some basic simulations to check that it has installed correctly.
As previously mentioned, open source software is updated frequently so it is best to read through the references below.
- Handout:
- Resources
- Demonstration
Take Week 3 Quiz
Homework: homeworkWeek3.pdf
Weeks 4 - 5
Topics - MKZ Sensor Kit, Vehicle Model, Launch Files
With Autoware installed and the simulation using the sample vehicle model and sensor kit working, we will install the following for our Autonomous MKZ Research Vehicle:
- Vehicle Model
- MKZ Specific Autoware Launch XML File
- MKZ Specific Sensor Driver XML File
- Some Debugged Scripts
- Autoware <-> MKZ Dataspeed Interface
Take Week 4-5 Quiz
Homework: homeworkWeek4And5.pdf
Weeks 6&7 - Calibration TBD
Week 8
Topics - Vehicle Interface Package Between Autoware and Dataspeed Drive-By-Wire
For our vehicle to communicate with Autoware and vice-versa, there needs to be a vehicle interface package. In this week, we will cover how this interface will bridge the bidirectional communication between the Dataspeed and Autoware.
Take Week 8 Quiz
Homework: homeworkWeek8.pdf
Week 9
Topics - Creating the Vehicle Interface Between Autoware <-> Dataspeed DBW)
We are now creating the actual interface. As of 11/22/2025, there is a working Dataspeed/MKZ interface which is provided in the downloads section below. But note that Autoware is constantly changing and adjustments to messages, submessages, topic subscriptions and publishers may need adjustment
as Autoware evolves. Please review the given code, the handout, the overview from Week 8, and Autoware's official guides in order to update the interface as needed.
Take Week 9 Quiz
Homework: homeworkWeek9.pdf
Week 10
Topics - Setting Up Packages for Map Making and Testing Indoors
We will now set up the software for making 3D pointcloud maps that we will run on Autoware for Level 4 autonomous driving using LIO-SAM, our Ouster OS2 LiDAR, and Novatel KVH1750 9-Axis IMU.
We are setting ourselves up for Week 11, where we will make an actual pointcloud map outdoors. This week's work involves setting up the workspaces and configurations for LIO-SAM (the map making algorithm), the Ouster
OS2, and Novatel KVH1750 9-Axis IMU. The instructions provided by the creators of LIO-SAM ROS2 do not exactly align with our working setup, so it is imperative to understand the configuration described in the handout.
- Handout: setupLIOSAM.pdf
- Downloads: ousterSWRINovatelLIOSAM.zip | Fully setup and debugged ROS2 packages for LIO-SAM, Ouster OS2, and Novatel KVH1750. Follow instructions in handout for building and usage.
- Resources:
Take Week 10 Quiz
Homework: homeworkWeek10.pdf
Week 11
Topics - Making Pointcloud Map Outdoors
Now that we have familiarized ourselves with the map making process in Week 10 using LIO-SAM, the Ouster OS2, and the KVH1750 IMU, we will take the vehicle outside and make a real pointcloud map.
This requires a driver and a passenger in the back to assist with running commands and keeping watch over the ROSBAG recording process!
The process is the same as what we did in Week 10, but this time with the moving car. The handout will cover the procedure for driving the car with the computer and sensors on and best practices when making maps outdoors.
Take Week 11 Quiz
Homework: homeworkWeek11.pdf
Week 12
Topics - Making Lanelet2 Vector Map Using TIER IV's Vector Map Tool
Now that we have our 3D pointcloud map in the form of a .pcd file, we need a supplementary lanelet2 (.osm) vector map file.
The 3D pointcloud map is merely a 3D model; it does not have any information on where a vehicle can travel, where it must stop, where there are interesections and so on.
In order to supplement the 3D map, we must create a separate Lanelet2 vector map.
Take Week 12 Quiz
Homework: homeworkWeek12.pdf